 OpenMock Blog
Guides
Turn an iPhone screen recording into a promo video
From a raw iOS screen recording to a polished MP4 on a 3D iPhone with camera moves and a tagline — in the browser, in ten minutes, nothing uploaded.
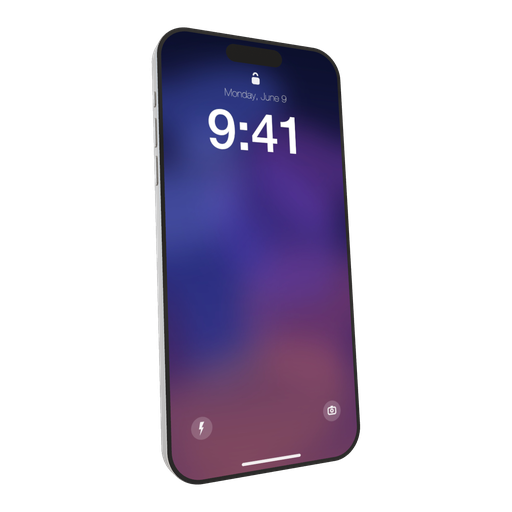
You already have the hardest part: a screen recording of your app doing the thing. What it lacks is context — it is a bare rectangle of UI that looks like a bug report when you post it. The fix is to put that recording on a phone, light the phone, move a camera around it, and add a line of text. That used to mean a video editor, a device template and a fair amount of keyframing. In the browser it is ten minutes, and the recording never leaves your machine.
Step 1 — Record well
The recording is the content; everything after is packaging.
- Use iOS Screen Recording (Control Center → record). It produces an HEVC .mp4 or .mov at native resolution that imports directly — no conversion.
- Do Not Disturb on, so notifications do not land mid-take. Full battery, full signal, 9:41 if you can arrange it.
- Portrait or landscape — decide now. The recording's orientation determines the device orientation in the scene.
- Move slowly and pause on results. You can speed a clip up in the scene; you cannot slow down frames that do not exist.
- Record 20–30 seconds; you will use 8–15. Start a couple of seconds before the interesting part so the in-point is clean.
Mac recordings (QuickTime, the built-in recorder), Windows recordings (Xbox Game Bar, OBS) and simulator captures all work the same way — drop the file in.
Step 2 — Put it on a device
Open OpenMock in a desktop browser (Chrome, Edge or Safari), pick a device in the Mockup panel, and drag the recording onto the canvas. It starts playing on the screen.
Which device? iPhone 17 Pro Max if the recording is from a Pro Max or you want the flagship look; iPhone 17 for a friendlier consumer feel; iPad Pro for tablet footage; MacBook Pro or Pro Display XDR for desktop and browser recordings. The screen scales to fit, so a recording from any iPhone works on any iPhone model — matching the exact device is nice, not required.
Then, in the source controls for the shot:
- Trim the in and out points to the useful part.
- Set speed — 1.25× to 1.5× tightens a deliberately slow recording without looking rushed.
- Decide whether to loop; for a hero video that repeats on a landing page, looping a short recording is exactly right.
Step 3 — Make it look filmed
Three settings do most of the work:
- Environment. Studio (clean, e-commerce), Concrete (warm, editorial) or Dark Room (keynote drama). Each is real HDRI lighting reflected in the device.
- Screen glow. The display lights the frame and the surface around it, the way a real phone does in a dim room. Bright UIs need less; dark UIs can take more.
- Background. A solid or gradient in your brand palette, or a blurred image. Keep it quieter than the UI.
Optional finishing: a touch of depth of field so the far edge of the phone softens; the glass border highlight on dark backgrounds; bloom only if your UI has bright accents to catch.
Step 4 — Move the camera
The recording moves; the camera should barely move. A reliable pattern:
- Shot 1 (3 s): start tilted 20° and slightly zoomed out, keyframe to straight-on and closer as the recording begins.
- Shot 2 (8–12 s): hold, with a slow push-in of a few percent across the whole shot.
- Shot 3 (3 s): drift sideways into a text shot with the tagline, then a logo shot.
Set motion blur to low — it smooths the camera without softening the recording's text. Fade in and out are set per shot on the timeline.
Step 5 — Export
Set the canvas ratio in the top bar for the destination, then export video:
| Destination | Canvas | Size |
|---|---|---|
| Reels / TikTok / Shorts | 9:16 | 1080 × 1920 |
| X / YouTube / landing page | 16:9 | 1920 × 1080 (or 3840 × 2160 with Pro) |
| LinkedIn feed | 4:5 | 1920 × 2400 |
| App Store preview | 9:16 | Custom 886 × 1920, 30 fps, 15–30 s |
Free exports are 720p at 30 fps with a small watermark; Pro ($5/month or $36/year) removes it and unlocks 4K and 60 fps. While you are there, export a still as a transparent PNG for the landing page — image exports are free.
Why the browser, and why nothing uploads
Screen recordings of unreleased features are exactly the footage you do not want on someone else's server. OpenMock decodes the recording, renders the 3D scene and encodes the MP4 in the browser using WebGL and WebCodecs. There is no account and no upload; close the tab and it is gone. The code is fair source on GitHub if you want to verify that.
Troubleshooting
- The recording is upside down or sideways: rotate the device to match the recording's orientation rather than the other way round.
- UI text looks soft in the export: lower motion blur, export at a higher resolution, or slow the camera.
- The video is huge: 4K at 60 fps for 30 seconds is large by design; export 1080p for social, 4K only for YouTube and hero pages.
- Export is slow in Safari: make sure you are on Safari 16.4 or later; recent versions use the hardware encoder and export a 30-second clip in well under a minute.
FAQ
How do I put an iPhone frame around a screen recording?
Drop the recording onto a 3D iPhone in OpenMock — the recording plays on the device's screen, and you can angle, light and animate the phone before exporting an MP4 or a still.
What format should the screen recording be?
MP4 or MOV, including HEVC files straight from iOS Screen Recording or a Mac. WebM and other formats fall back to a slower playback path but still work.
Can I trim or speed up the recording?
Yes — each shot has trim in/out points, a speed control and a loop option, so you can use only the good part and tighten the pace.
Will my recording be uploaded anywhere?
No. Decoding, rendering and encoding happen in your browser; there is no account and nothing leaves your machine.
Can I make a video from a screenshot instead?
Yes. A screenshot on a device with a slow camera move and a text shot is a complete hero video; recordings are better when the interaction itself is the pitch.